 De L’Impressionnisme A Bonnard Et Picasso
Bonnard: Braque: Degas: Dufy: Kisling: Lautrec: Matisse: Modigliani: Marquet: Monet: Marie Laurencin: Pascin: Picasso: Renoir: Zandomeneghi:
Names to conjure up images in your imagination and a Not to be missed exhibition in Le Cannet this year at Musee Bonnard.
I have mentioned before how lucky I am to have a lovely daughter who lives in the Cote D’azure and how she always tries to make sure I take in an exhibition when I am with her. This time it was an amazing collection lent by the Nahmad family, of forty works never before seen together.
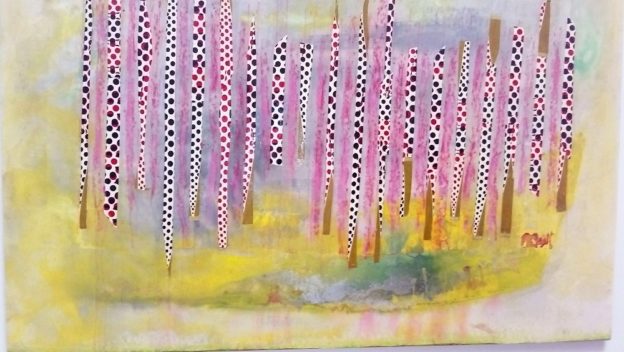
 These ranged from the end of the 19th century to the beginning of the 20th century and were set over three floors, light, airy and roomy, and they were selected to highlight the exciting way that artists from different eras were interlinked, but at the same time, illustrating the contribution of each of them individually, to the history of art.
We glided silently up to the top floor in the glass lift, and then gradually worked our way down, taking time to thoroughly inspect our favourites and discuss them with my granddaughter (aged 16) who was equally enthralled with the pictures, and decided that Monet was her favourite. (She subsequently visited Musee D’Orsay in Paris last week, and decided Monet was still her favourite.)
It’s hard to describe the thrill that runs through you when you have the privilege of standing in front of the work of an old master that you really admire; it starts in my spine and runs right through my body.
 The collection was hung in such a way that each piece of work connected or enhanced the one near it. How do you hang the masters of pre-impressionism and impressionism, Picasso and Matisse, Lautrec and Dufy and Modigliani and Kisling all in one exhibition, and I think the answer was “beautifully” and connecting and enhancing each other.
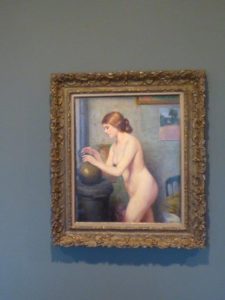
Of course, I had to set off the alarm system by getting far too near to a Renoir, which I was trying to explain to my granddaughter. However, the nice invigilator forgave me.
We left very reluctantly after two hours and had a lovely lunch in a typical little French café, hung with photographs of French film stars from the past.
I just love France, and I know I shouldn’t talk politics, but I just hope and pray we don’t lose our connection with France, Spain, Portugal and all the other fabulous countries of Europe. We have so much history together, and I wish we had stayed together!
Helena Anderson
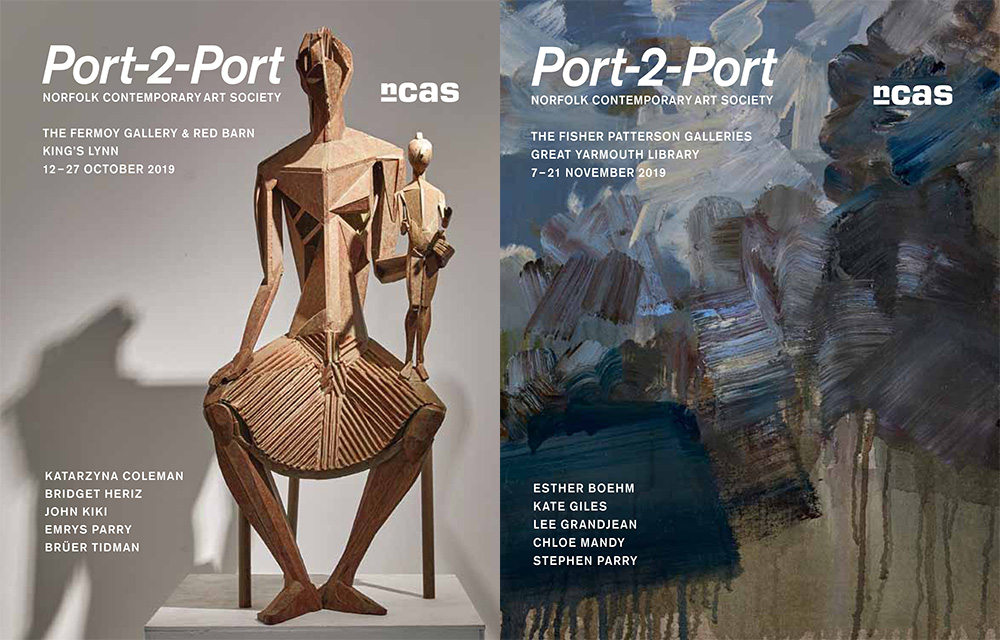
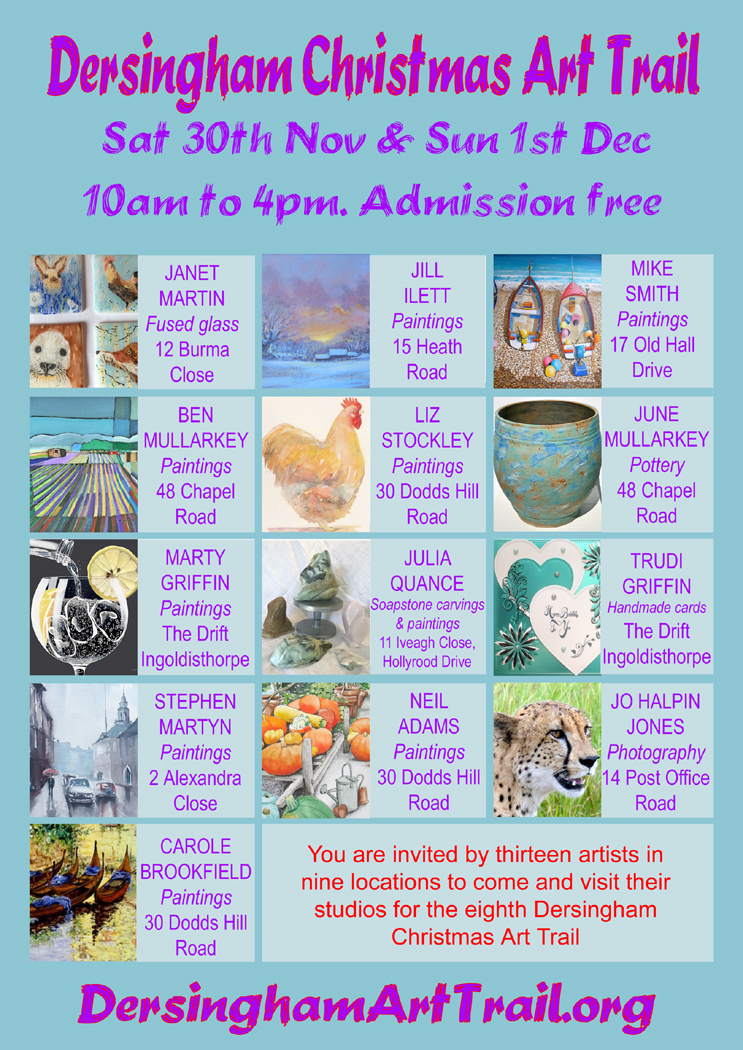 Artists in Dersingham are coming together again for their ninth Christmas Art Trail. Thirteen artists in nine locations, several of whom are WNAA members, will be opening up their studios on Saturday 30th November and Sunday 1st December.